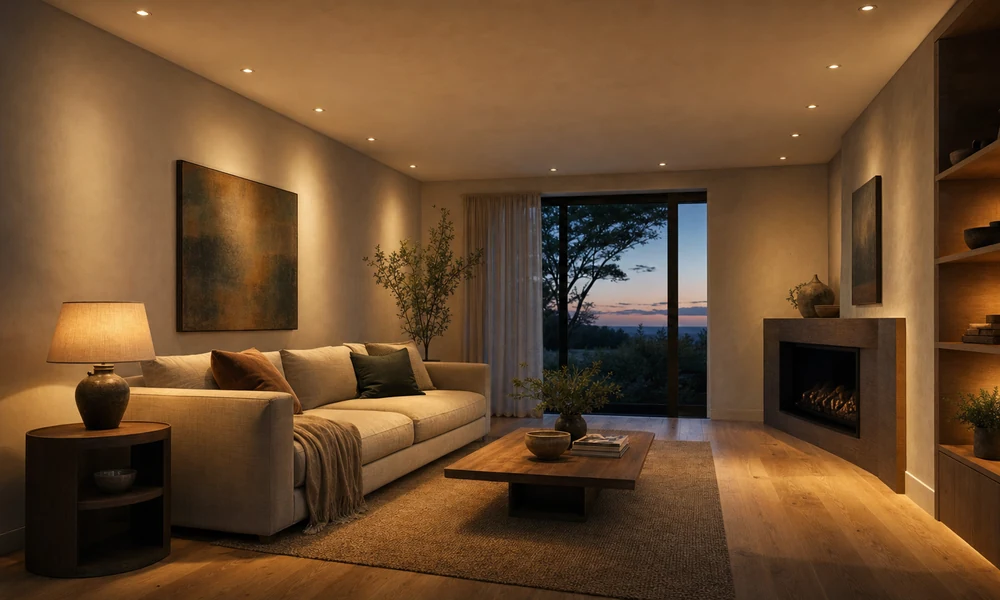
You know the ceiling. Four cans in a tight square, the middle of the rug like noon, the walls still in a cave. Or the other house: a can every 30 inches until the plaster looks like Swiss cheese, and after dinner nobody can dim the interrogation. That is recessed lighting laid out like a lighting calculator and never walked. Space it. Hold it off the walls. Then ask whether the room even wanted that many holes.
Cans are still a ceiling layer. They wash volume. They do not light a face at the sofa, a knife at the board, or a painting. A U.S. Department of Energy residential lighting guide still wants glare-free ambient plus task and accent. That is layered lighting, and the grid is only the ambient part.
How far apart should recessed lighting be?
For a first pass, space recessed lighting about half the ceiling height apart, and hold the first row about half that spacing off the wall. An 8-foot ceiling starts near 4 feet between centers and about 2 feet to the wall. Then move dots for the sofa, the counter, and the joists.
That ÷2 rule is trade practice, not a handbook table. It assumes a typical wide downlight whose beams meet at the floor instead of leaving valleys. A narrow old can needs a tighter grid. A wide LED wafer can often sit farther apart — the spec sheet’s Spacing Criterion is the photometric version of the same idea: maximum even spacing is SC times the height above the surface you care about, often a 30-inch work plane, not always the floor.
When you have the sheet, use it. When you do not, ÷2 is a conservative tape-out. Do not treat either as a reason to fill every joist bay.
Start at the wall, not the middle
The mistake people skip is the perimeter. A bright cluster in the middle and a dark cove at the baseboard is what you get when every can sits a full spacing inside the room.
Half the spacing to the wall is the companion rule. On an 8-foot ceiling that is about 24 inches to the center of the aperture. Guides quote a working band of roughly 18 to 36 inches for ordinary rooms. Measure to the hole, not to the trim ring.
Too close and you scallop the paint with little eyebrows of light. Too far and the corners die. Wall-washing a fireplace or a gallery wall is a different offset — pull adjustable trims in toward 18 to 30 inches and aim. Ordinary fixed downlights are bad at that job.
Then break the grid
Rooms are not graph paper.
Living room. Protect seated eyes. A bright aperture over the front edge of the sofa is a headache, not a design. Keep cans out of the direct sightline above a wall TV. Wider spacing, a dimmer, and lamps at sitting height will beat a 3×3 of noon. Over-lighting is the common regret. Fewer holes plus a floor lamp is still a scheme.
Kitchen. Follow the counters, not the room outline. Put the row about 24 to 30 inches off the wall so the beam lands on the board in front of you, not on your shoulders — the same logic as island pendants and under-cabinet strips. Along a counter, 3 to 4 feet is a tighter, more useful rhythm than the living-room grid. The island gets its own centered row or pendants. A naive center grid lights the walkway and leaves the knives in a hole.
Joists. A few inches to miss a framing member is invisible from the sofa. A can in your eyes is not. Let the joist win.
Tape paper plates on the ceiling. Sit where you sit. Stand where you chop. If a plate is in your forehead, move the plate.
Retrofit, canless, IC
ENERGY STAR splits the hardware into jobs worth keeping straight.
If you already have cans, a retrofit kit screws into the old socket like a lamp and clips to the housing. Trim and LED come as one piece. No new hole.
If you are cutting new holes, canless kits skip the traditional housing: cut the opening, wire the junction box, spring-clip to the drywall. Read the manufacturer sheet. Power off at the breaker. New cable back to a panel is electrician work, and some towns want a permit.
If the fixture will touch insulation, it must be IC-rated — Insulation Contact. That is not a style. It is whether the thing is allowed to sit in a stuffed ceiling without becoming a problem. Damp- or wet-rated if it lives over a shower.
Sleek and low-profile is fine. The layout still matters more than the wafer.
Dimmer and Kelvin
Put every recessed circuit on a dimmer. ENERGY STAR notes many of its kits dim to at least 20 percent with a compatible switch; the package lists which dimmers behave. Flicker is usually a mismatch, not a failed can.
Pick one color temperature for the cans in a view. ENERGY STAR builder guidance prefers 2700K to 3000K in homes. Kits exist from warm amber through 4100K and up. That cooler end is a laundry and garage friend, not a living-room default — the same argument as warm white vs cool white. Mixing 2700K lamps with 4000K wafers in one glance is how a renovation looks unfinished.
Skip the internet’s “20 footcandles for the living room” calculators. They do not match the residential IES numbers a DOE guide actually reprints, and they push people to buy more holes. Light on the floor where you walk, no glare in a seated face, a slider for 9 p.m. — that is the test.
The usual mistakes
A tight four-pack in the middle. A can every two feet because the electrician was already there. Copying the living-room grid onto the kitchen counters. Parking a downlight in the TV reflection. Calling the grid the whole design and never adding a lamp.
Tape the dots tonight. Sit on the sofa. Where is it still a cave — the walls, or your lap? Drill after that, not before.